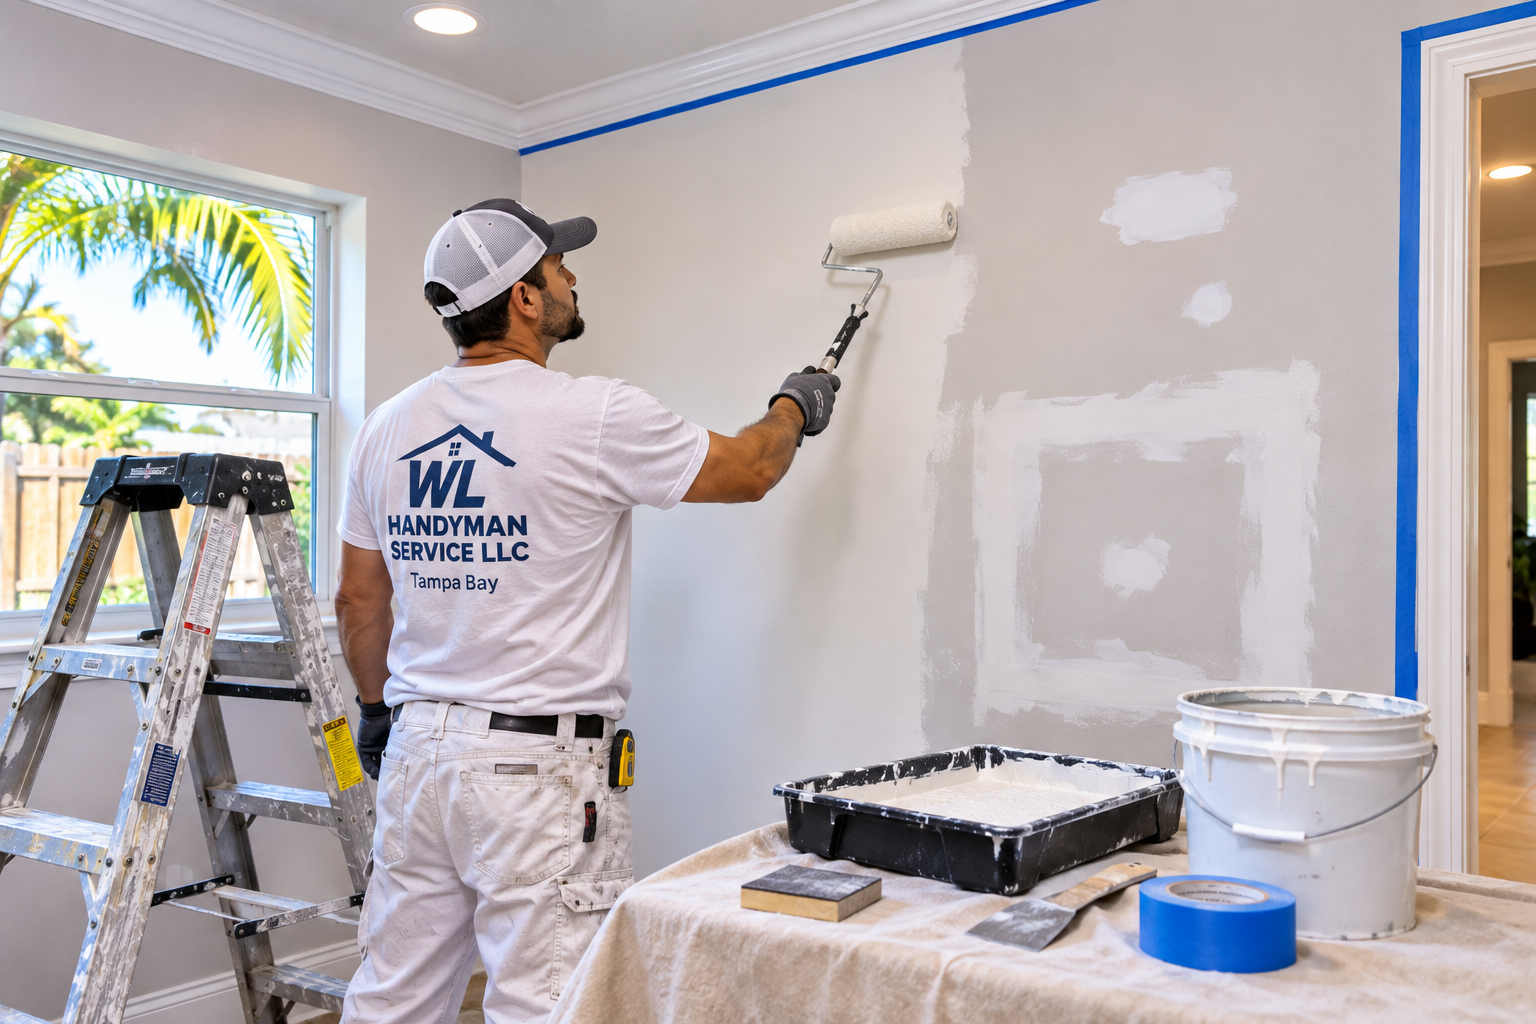
When preparing drywall patches before painting, Tampa Bay homeowners often discover that repaired areas remain visible beneath fresh paint. Uneven sheen, noticeable patch edges, and mismatched wall textures can make an otherwise beautiful paint job look unfinished. The solution starts with proper drywall preparation, texture matching, sanding, and priming before the final coat.
Why drywall patches show through fresh paint
New joint compound is more porous than the surrounding painted wall. If paint goes directly over the compound, the patch can absorb the coating unevenly, leaving a dull area called flashing. Even when the color matches, the change in sheen catches daylight from windows and overhead fixtures. A second coat may reduce the difference, but primer and consistent surface preparation are more reliable.
Texture also matters. Many Tampa-area houses have orange-peel or knockdown finishes. A perfectly smooth patch can remain obvious against a textured wall, especially along a hallway or near a large window.
Start with the cause of the damage
Check for moisture before patching
Not every drywall blemish is cosmetic. Yellow-brown stains, soft spots, bubbling paint, or recurring cracks can indicate an active leak or persistent condensation. Florida humidity can contribute to damp conditions, but a stained ceiling might also point to plumbing, roofing, or air-conditioning issues. Do not cover wet material with compound or paint. Identify and correct the source, then allow the area to dry and assess whether damaged material needs replacement.
If a ceiling is sagging, drywall is extensively water-damaged, or there are signs of structural movement, arrange an evaluation by an appropriately qualified professional rather than attempting a cosmetic cover-up.
Choose the repair method for the opening
Small nail holes and shallow dents
Small, sound areas may need only a suitable patching compound, careful sanding, and spot primer. Remove loose paint and dust first. Apply thin layers instead of building one thick mound that is harder to feather into the surrounding wall.
Larger holes and damaged seams
Larger openings generally need a properly supported drywall patch, tape at the joints, and multiple thin coats of joint compound. Allow each coat to dry as directed before sanding or applying the next. Cracks at seams or corners may require new tape and investigation of movement; simply filling the crack with spackle can lead to a quick recurrence.
Blend the texture before applying primer
After the patch is flat and dry, compare its texture to the surrounding surface. Orange-peel texture creates small, rounded bumps; knockdown texture has flattened high points. Use a compatible texture product and practice on scrap material when possible. Feather the repair beyond the damaged spot to reduce the appearance of a hard edge. Protect floors, trim, and furniture from dust and overspray.
Let texture cure according to its instructions. Rushing from texture to paint can trap moisture and compromise the finish.
Prime the patch to prevent flashing
Primer seals the absorbent compound and helps the topcoat develop a consistent appearance. Choose a primer compatible with the patch material and the intended finish paint. Previously stained areas may require a suitable stain-blocking primer, but only after the underlying cause is resolved. Follow the manufacturer’s guidance for ventilation, drying time, and recoating.
For extensive patching, priming the entire wall may produce a more uniform result than spot priming alone. The best approach depends on the condition and existing coating.
Decide between touch-up paint and a full wall repaint
Even an exact paint color can look different when the old coating has faded, the sheen varies, or a different roller nap was used. Small touch-ups may work in low-visibility areas. On walls with multiple repairs, strong side lighting, or an older finish, repainting from corner to corner often looks more consistent.
Test a small section and view it in morning and evening light before committing. For kitchens, bathrooms, and laundry rooms, consider the room’s cleaning needs and moisture conditions when choosing the coating.
Plan safely in older Tampa Bay homes
Homes built before 1978 may contain lead-based paint. Disturbing painted surfaces can trigger federal lead-safe renovation requirements. Suspected asbestos-containing texture or other material should not be scraped or sanded without proper assessment. Keep dust contained, use appropriate protective equipment, and check applicable rules before beginning work. Electrical, structural, or other regulated repairs may require permits or licensed trades.
For homes built before 1978, homeowners should review the EPA’s lead-safe renovation guidelines before disturbing painted surfaces.
Get a cleaner finish with a practical walkthrough
Whether you are refreshing a bedroom in Town ’n’ Country, preparing a rental in Brandon, or repainting a living room in South Tampa, the same sequence matters: diagnose damage, repair correctly, blend texture, prime, and paint consistently. A walkthrough can help separate straightforward cosmetic repairs from problems that need further evaluation.
Need drywall repair and interior painting in Tampa Bay? Contact WL Handyman Service LLC to request a free walkthrough and discuss your project. Visit WL Handyman Service LLC to get started.
Leave a Reply